I love this headboard made by Dan Faires from HGTV's, "DanMade." It is so chic and is doable by anyone. Even if you don't have a power saw, most places that sell lumber will cut it to size for you.

Wednesday, February 02, 2011

Wednesday, January 19, 2011
Crocheted Heart Garland.
To be honest, I'm not always a fan of crocheted and knitted things. I think its a combination of living in Florida, where sweaters are rarely worn and that the only yarn I knew about was the acrylic Red Heart brand. Eww.
I've been seeing some very cute crocheted garlands on Etsy, and decided that after 30 years it was time to try my hand at crocheting again. I found a very helpful how to on Youtube, and spent two days crocheting little hearts and watching Grey's Anatomy.
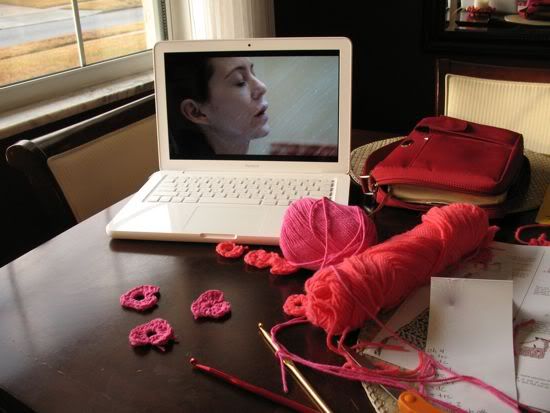
It took awhile for me to get an actual heart shape.
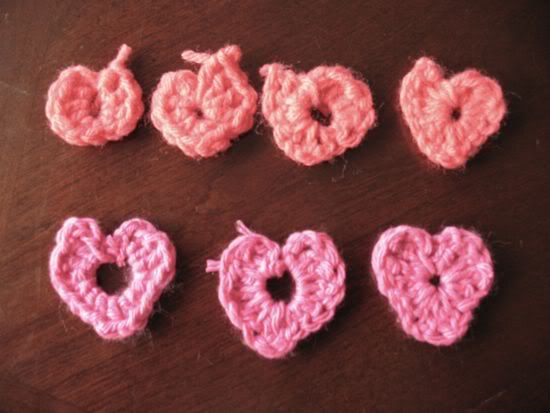
Eventually, they started looking like this.
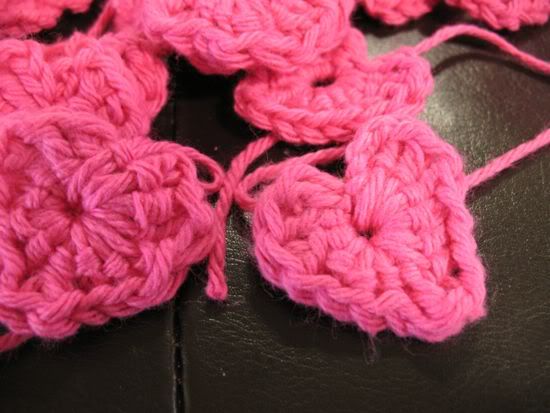
Part of my finished garland. I'd really like to get it looking more like hearts and less like strawberries.
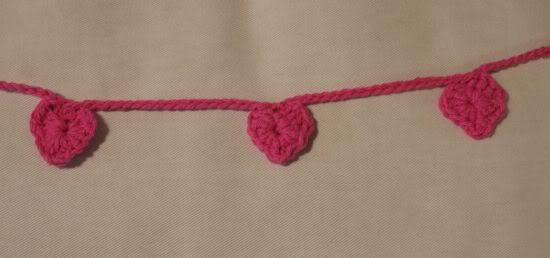
The directions for the heart are pretty easy;
Chain 4, make all stitches in the first chain. 3 trc, 3 dc, chain 1, 1 trc, chain 1, 3 dc, 3 trc, chain 2 slip stitch. Fasten off.
This video shows you exactly how to make a heart.
I've been seeing some very cute crocheted garlands on Etsy, and decided that after 30 years it was time to try my hand at crocheting again. I found a very helpful how to on Youtube, and spent two days crocheting little hearts and watching Grey's Anatomy.

It took awhile for me to get an actual heart shape.

Eventually, they started looking like this.

Part of my finished garland. I'd really like to get it looking more like hearts and less like strawberries.

The directions for the heart are pretty easy;
Chain 4, make all stitches in the first chain. 3 trc, 3 dc, chain 1, 1 trc, chain 1, 3 dc, 3 trc, chain 2 slip stitch. Fasten off.
This video shows you exactly how to make a heart.
Tuesday, December 14, 2010
Link Love
Lots of crafting has been happening here, I've just not photographed it :( Here are a few links to a few of the crafts I've been making.
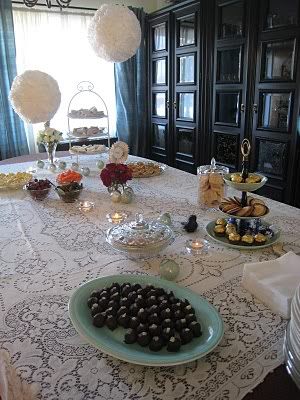
I made these "foofs," to hang at my daughters baby shower and they looked fabulous.
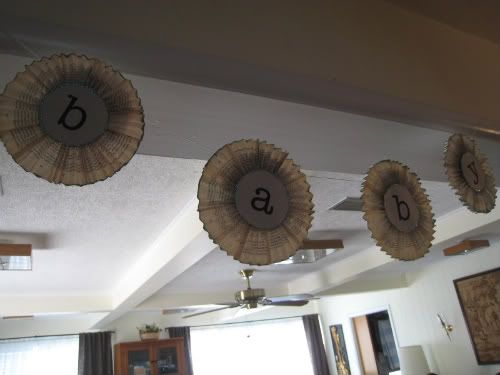
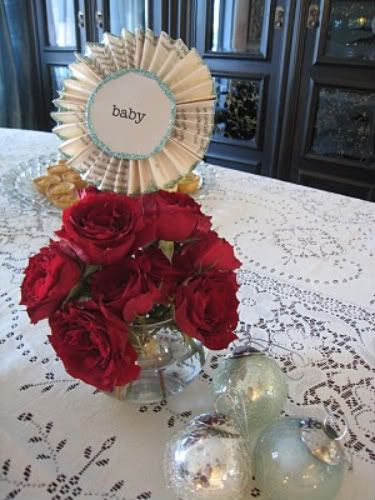
I was going for a vintage theme at the shower and made a banner.
This is a great tutorial showing you how.
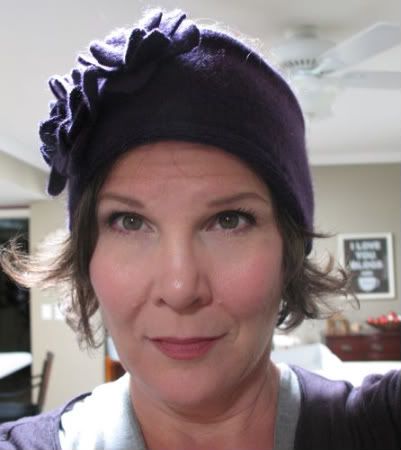
I whipped up a pair of these awesome ear warmers yesterday morning, because despite the fact I live in Florida, the temperature has dropped to 28 degrees!
I made these "foofs," to hang at my daughters baby shower and they looked fabulous.

I was going for a vintage theme at the shower and made a banner.
This is a great tutorial showing you how.


I whipped up a pair of these awesome ear warmers yesterday morning, because despite the fact I live in Florida, the temperature has dropped to 28 degrees!

Tuesday, December 07, 2010
Anthropologie Inspired Necklase
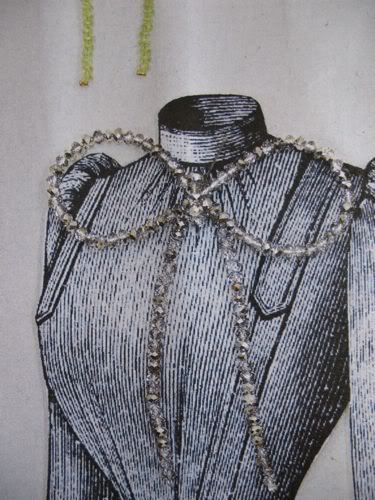
I saw this necklace in the Anthro catalog a few months ago and thought I'd try to replicate it.
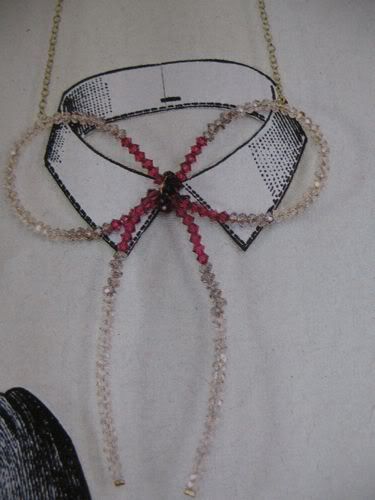
I used 22 gauge wire, seed beeds and needle nose jewelery pliers. You can use any kind of small bead, this just happened to be what I had laying around.
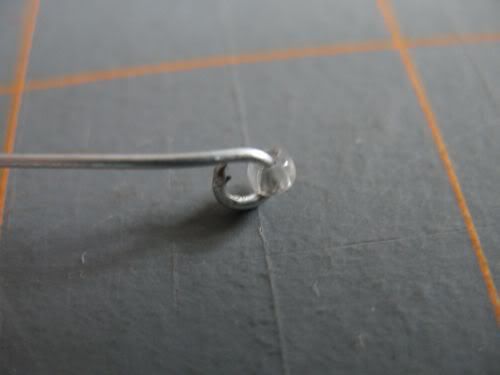
I measured out about 18 inches of wire, put a seed bead on the end and made a loop.
Then I started filling up the wire with my beads. I used red beads and then used pink beads for the center 4 inches. Don't do this. Stick with one color.
After you've filled your wire with beads, finish the end with another looped seed bead like in the first picture.
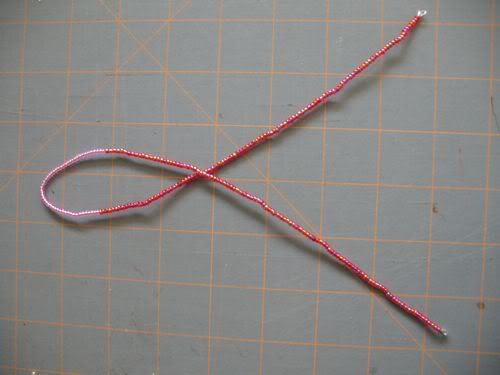
Form your wire into a pretzel shape.
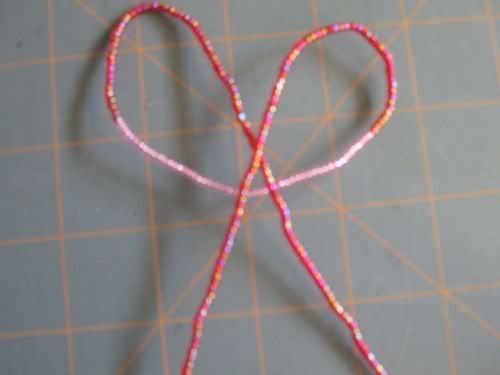
The to form the bow, twist half the pretzel up
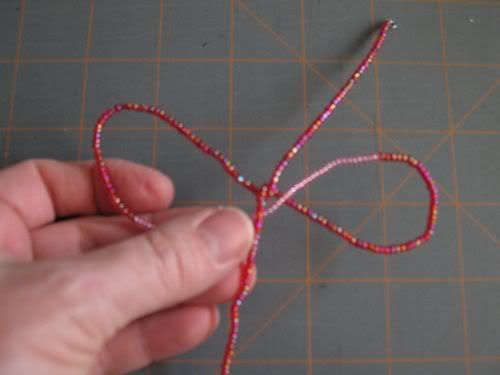
And all the way around to finish the bow. I had a few beads pop off doing this. Its ok.
Your bow will still look fine.
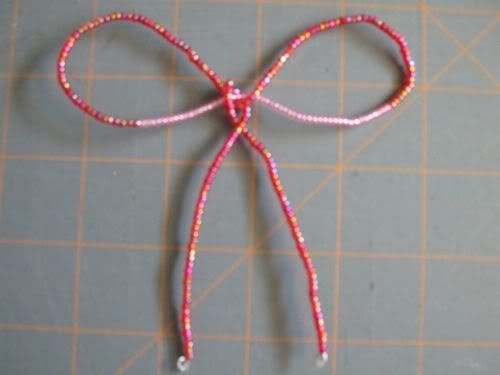
Now you can use jump rings to attach it to a chain necklace. I didn't do this becaue I was FRUSTRATED that my light pink area wasn't where I wanted it. That's when I decided its probably best to stick with a solid color, like this Anthro necklace, and I would use a larger bead.

I used 22 gauge wire, seed beeds and needle nose jewelery pliers. You can use any kind of small bead, this just happened to be what I had laying around.
I measured out about 18 inches of wire, put a seed bead on the end and made a loop.

Then I started filling up the wire with my beads. I used red beads and then used pink beads for the center 4 inches. Don't do this. Stick with one color.
After you've filled your wire with beads, finish the end with another looped seed bead like in the first picture.

Form your wire into a pretzel shape.

The to form the bow, twist half the pretzel up

And all the way around to finish the bow. I had a few beads pop off doing this. Its ok.
Your bow will still look fine.

Now you can use jump rings to attach it to a chain necklace. I didn't do this becaue I was FRUSTRATED that my light pink area wasn't where I wanted it. That's when I decided its probably best to stick with a solid color, like this Anthro necklace, and I would use a larger bead.

Wednesday, November 24, 2010

Tuesday, October 12, 2010
Velvet Bookmarks
Confession: I love pretty bookmarks but usually use a a scrap of paper to mark my place.
These are so lovely though, that I may have to change my ways. I saw these velvet bookmarks on the cover of Somerset Studio magazine last year and thought they were beautiful.
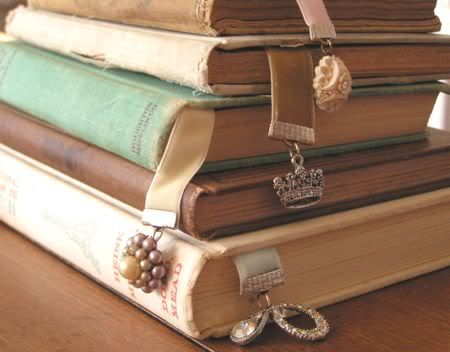
photo credit: Somerst Studio
I found all my supplies on Etsy, and while I used 1" ribbon, in hindsight I'd go narrower, just because there are more ribbon choices.
For each book mark you will need: 12" of velvet ribbon
2- 1" ribbon end clamps
Old buttons, beads or jewelry pieces
Jump rings and headpins
Measure out your 12" of ribbon.
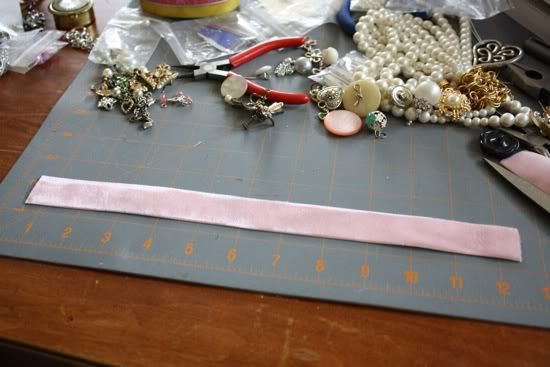
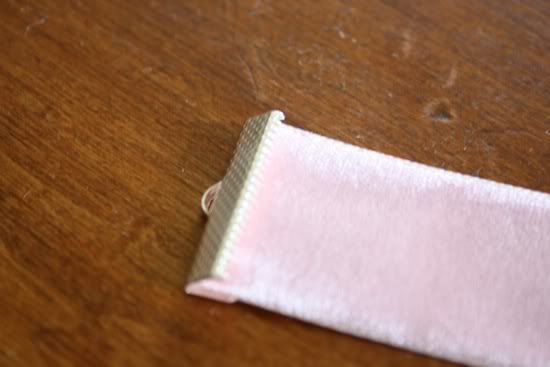
Line up your ribbon end clamp, and use pliers to gently, (but tightly,) close the clamp. Do this on both ends.
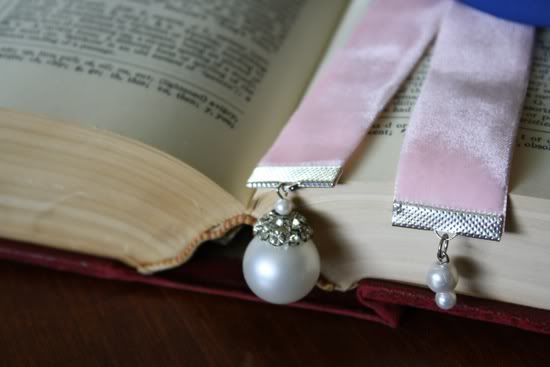
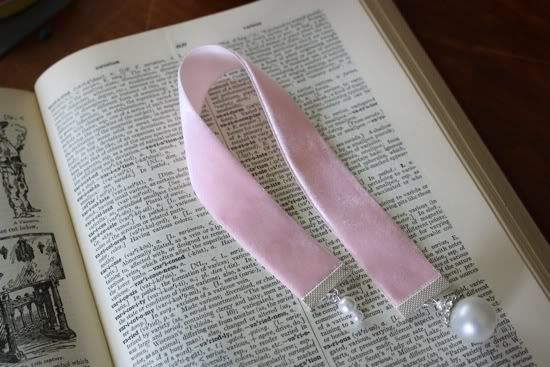
Now the fun part. Use what ever adornment you like and attach it to the clamp with a jump ring. If you are using beads, first you must put the bead on a head pin and make a loop at the top.
These are so lovely though, that I may have to change my ways. I saw these velvet bookmarks on the cover of Somerset Studio magazine last year and thought they were beautiful.

photo credit: Somerst Studio
I found all my supplies on Etsy, and while I used 1" ribbon, in hindsight I'd go narrower, just because there are more ribbon choices.
For each book mark you will need: 12" of velvet ribbon
2- 1" ribbon end clamps
Old buttons, beads or jewelry pieces
Jump rings and headpins
Measure out your 12" of ribbon.

Line up your ribbon end clamp, and use pliers to gently, (but tightly,) close the clamp. Do this on both ends.

Now the fun part. Use what ever adornment you like and attach it to the clamp with a jump ring. If you are using beads, first you must put the bead on a head pin and make a loop at the top.


Sunday, September 05, 2010
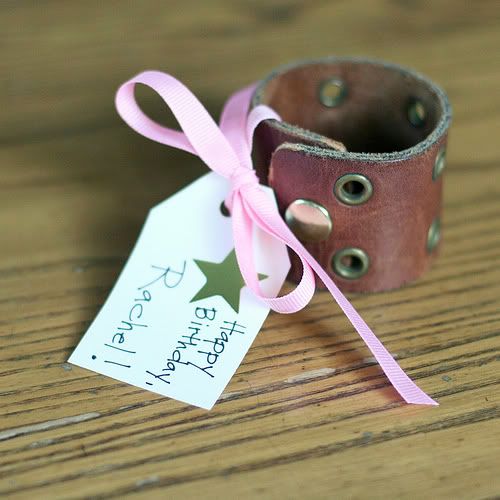
Upcycled Leather Cuff
Alicia, over at May Fly has a fantastic tutorial for making a leather wrist cuff from an old leather belt. Since you can make several cuffs from one belt, this would be a great project to use for making Christmas presents. Thanks Alicia!

Sunday, August 08, 2010
Yes, Another Pillow Post
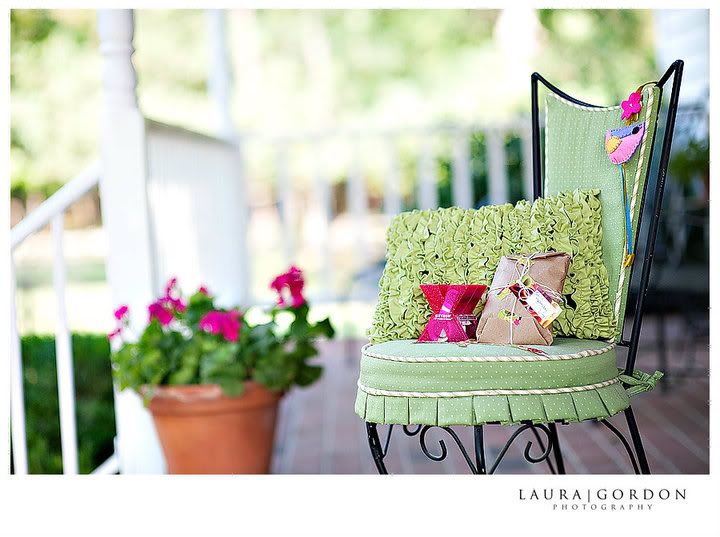
Sharon, over at Farm and Fru Fru Made this, "lettuce leaf," pillow using what she had on hand; one brown and one green t-shirt. I think it turned out beautifully.

Painted Wallpaper
While catching up on my blog reading this morning I came across this wonderful tutorial for painted wall paper.
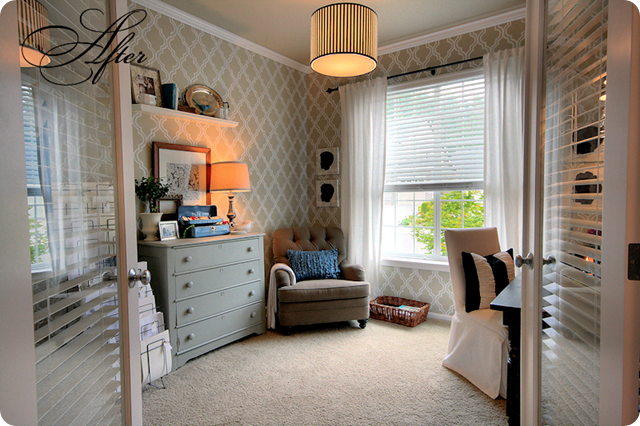
Gorgeous isn't it? The whole room is so inviting, and the whole blog is a feast for the eyes. What caught my eye next was the pillow on the chair. Its identical to the one I made and wrote the tutorial for!
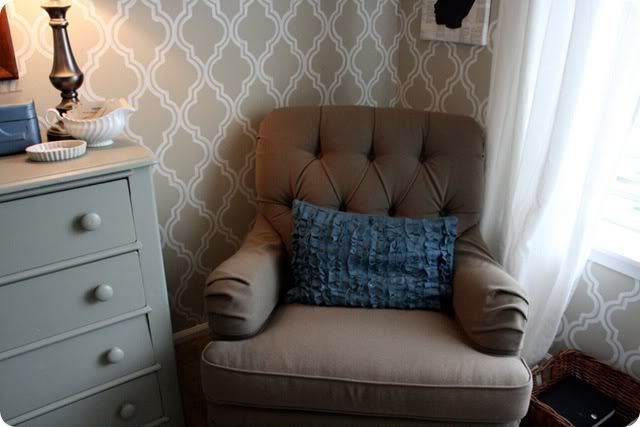
(Please see her gracious comment on this post.
I was very excited this week to have my pillow featured in The Examiner.
Rebecca has a column that features links to other, "trash to treasure projects." Check it out for some great inspiration.

Gorgeous isn't it? The whole room is so inviting, and the whole blog is a feast for the eyes. What caught my eye next was the pillow on the chair. Its identical to the one I made and wrote the tutorial for!

(Please see her gracious comment on this post.
I was very excited this week to have my pillow featured in The Examiner.
Rebecca has a column that features links to other, "trash to treasure projects." Check it out for some great inspiration.
Thursday, August 05, 2010
Making Books
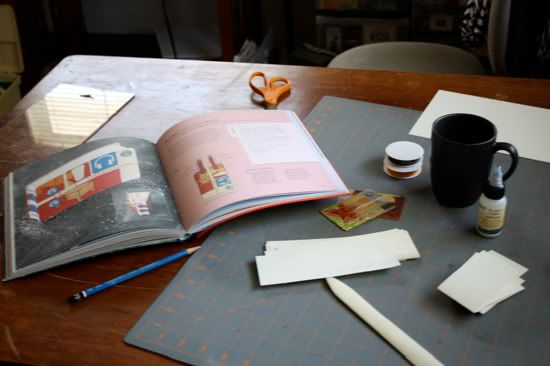
I love books, always have. I remember getting my first library card before I was in kindergarten, and my mom would take me weekly to pick out new books. In the evenings I would sit on my dads lap while he read the newspaper, or read to me and I would think, "I can't wait to be able to read by myself." As well as reading books, I like making them and have always wanted to learn book binding. Today I made my first attempt at making a, "real," book. Real as in I didn't wing it but followed instructions on how to sew the binding. Because I enjoy hand sewing this was pretty easy. The entire book, from hand cutting all the papers, ( and using the corner rounder on all 74 pages,) to binding and attaching the cover, took me about 31/2 hours.
I found directions in the book, "re-bound," by Jeannine Stein.
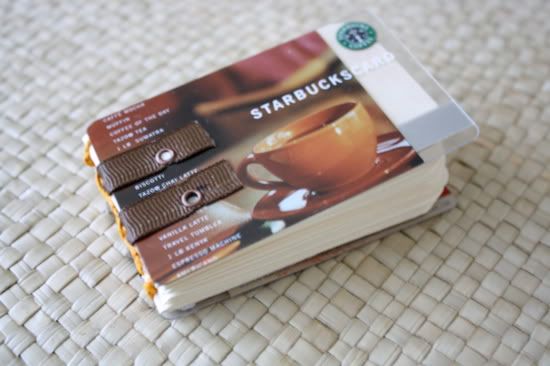
The finished book.
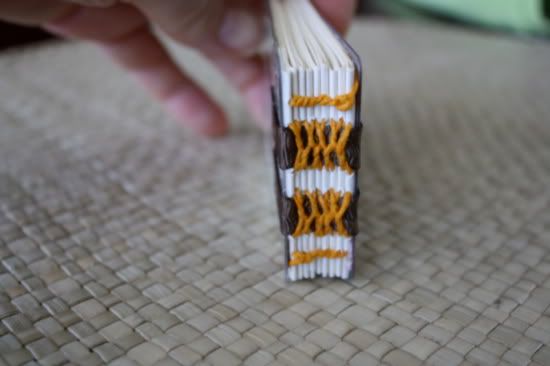
The binding. The directions called for waxed linen thread. I didn;t have that and waxed some hemp that I had laying around. It was a bit too thick so I'm going to try embroidery floss next time.
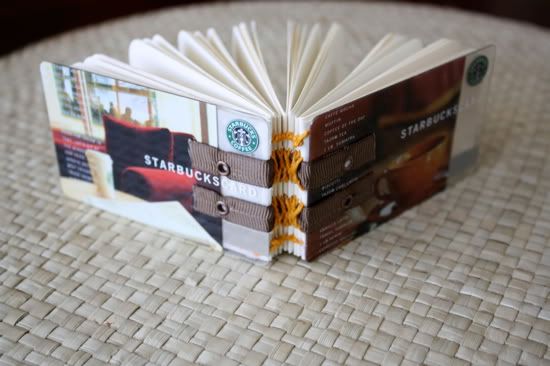
The front and back.
I found directions in the book, "re-bound," by Jeannine Stein.

The finished book.

The binding. The directions called for waxed linen thread. I didn;t have that and waxed some hemp that I had laying around. It was a bit too thick so I'm going to try embroidery floss next time.

The front and back.

Subscribe to:
Posts (Atom)