Tuesday, August 03, 2010

Stella and Dot Brooch

I was perusing my favorite online jewelry store, Stella and Dot, and saw this brooch in their new fall collection.

Photobucket

It's very similar to the cuff bracelet I made last fall.

Photobucket

You can find my tutorial HERE.

Wednesday, July 28, 2010

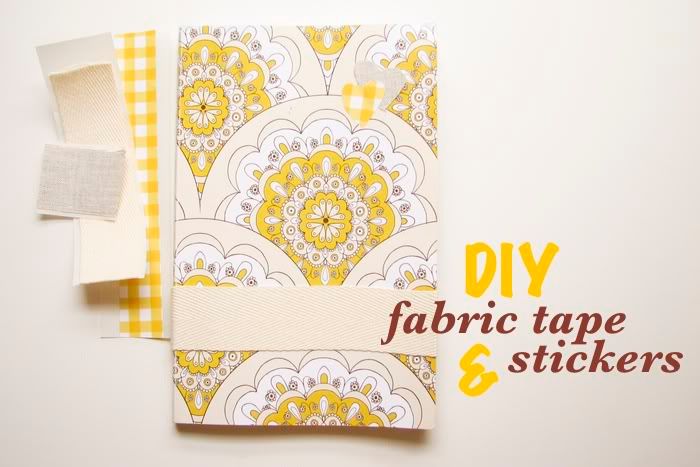
DIY Fabric Tape and Stickers.

First I want to thank your for all the sweet comments on my pillow. Knowing other people enjoy these crafts is an encouragement to me to continue posting what I make.

This brilliant DIY is from Natalie Jost of Olive Manna. She demonstrates this oh-so- easy way to turn regular ribbons and trimmings into stickers! Just think of all the things you can adorn and customize!

Photobucket

Just click the photo to be taken to the tutorial.

Photobucket

Monday, July 19, 2010

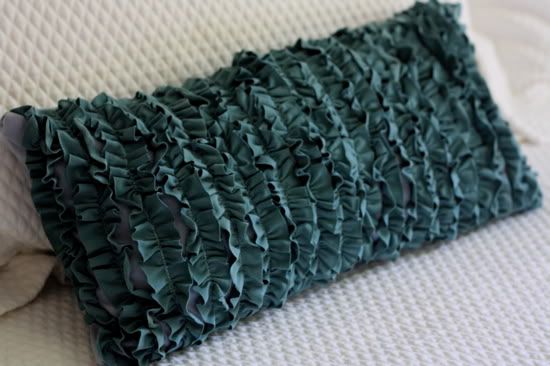
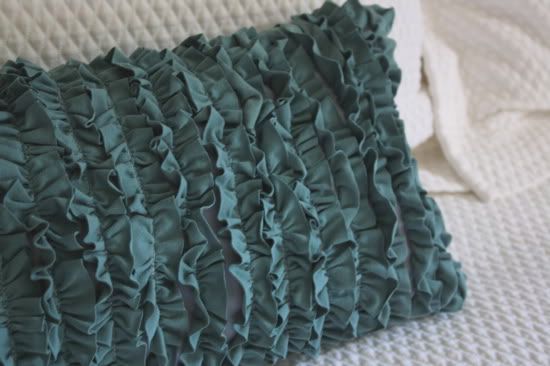
The Finished Project. It's a.....

Pillow!

Photobucket

Photobucket

I started with one of my old t-shirts, cutting 1 1/2 in wide strips from it.
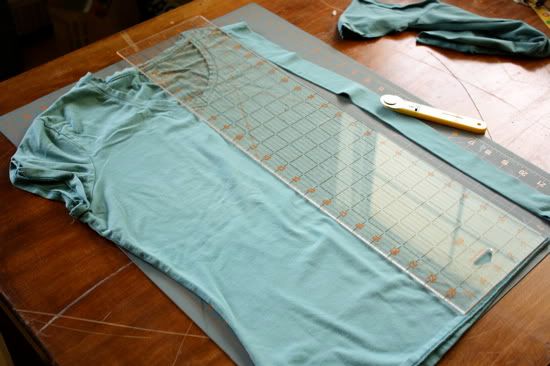
Photobucket

Using the longest stitch, I sewed right down the middle of each strip.
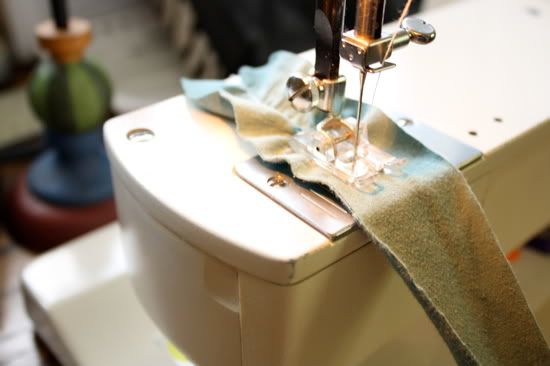
Photobucket


I ruffled each strip by pulling the bottom thread and easing the gathering along the thread. This takes a while so I sat and watched a couple of episodes of Veronica Mars while I did it. I really miss that show.
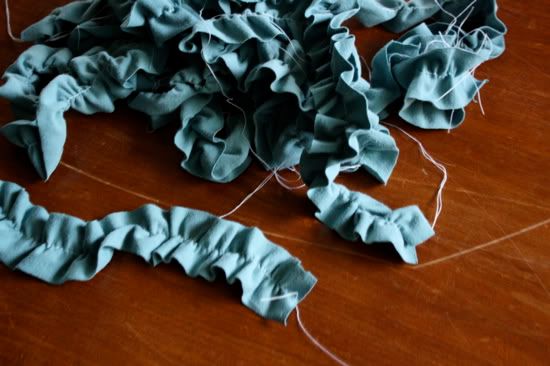
Photobucket

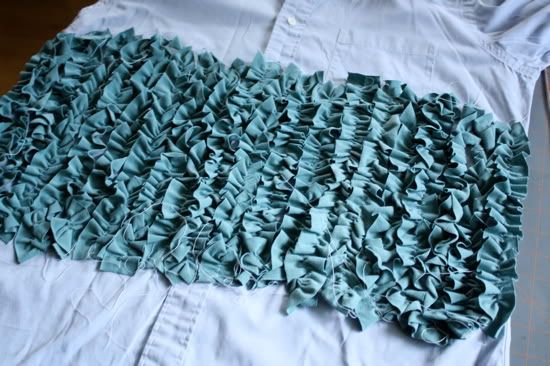
I laid out one of my husbands old dress shirts and started laying down the ruffled strips to see how wide my pillow would be and to make sure I had enough ruffles to go all the way across the shirt.
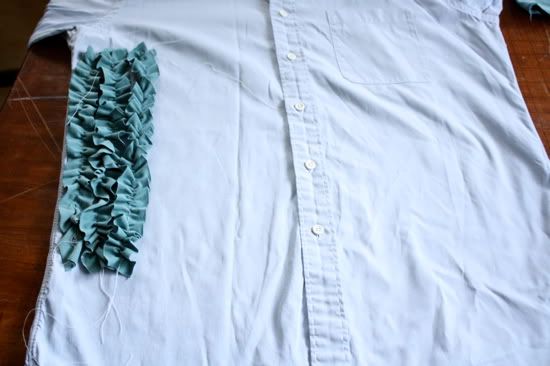
Photobucket

Photobucket

Once I had all the ruffles down, I knew how wide to cut my pillow.
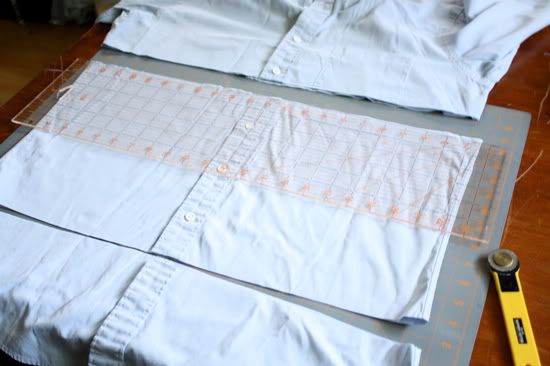
Photobucket

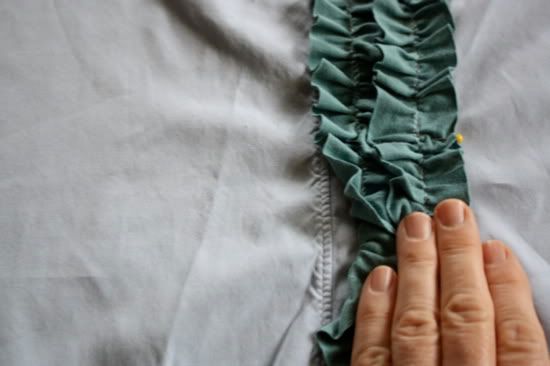
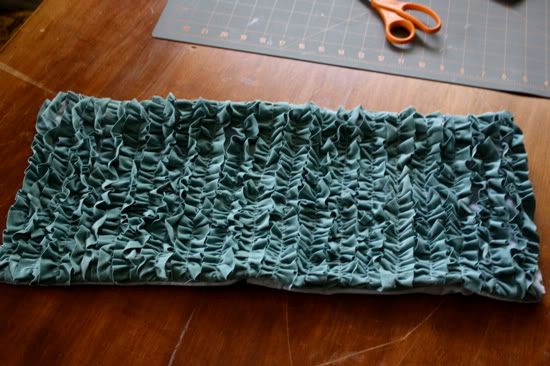
Using the side seam of the shirt as a guide, I started sewing the ruffles on to the back of the shirt, going down the center of each strip, right over the original basting stitch. I overlapped the ruffles just slightly.
Photobucket

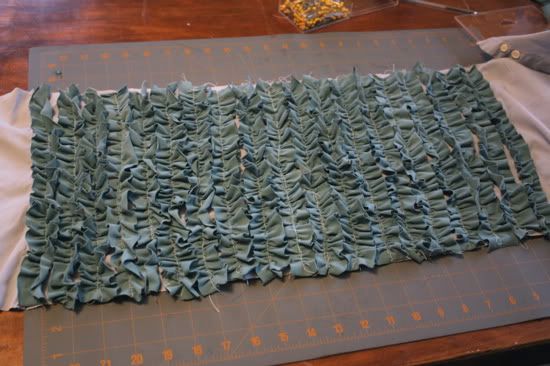
Here it is with all the ruffles attached.
Photobucket

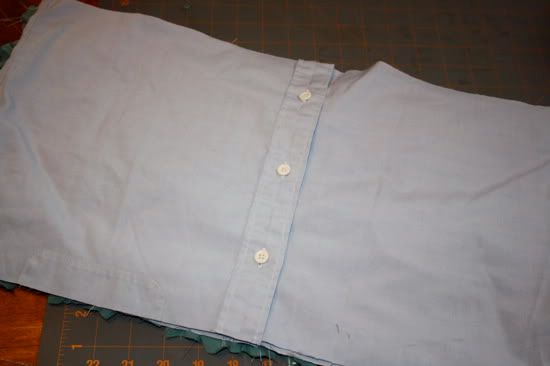
Turn the shirt over and button up what is now the back,
Photobucket

then turn the shirt inside out and sew the top and bottom of the pillow.

Unbutton the shirt and turn it right side out.
Photobucket

Now you can either stuff it, or make a pillow form to fit inside, ( I did this using an old sheet and the filling out of an old pillow.)

Once the pillow is stuffed, button up the back, and enjoy your up-cycled pillow!

Photobucket

Monday, July 12, 2010

WIP

I'm working on a project, but first I want to show you how I used the garlands I made for the fourth of July.

Photobucket

The guys were actually in a much better mood than they appear.

Photobucket

The project I'm working on now and hope to post later this week involves one of my old t- shirts and one of my husbands old business shirts. Here's a little teaser.

Photobucket

Photobucket

Photobucket

Any guesses on what I'm making?

Thursday, July 01, 2010

4th of July Garlands.

I had planned on doing so many crafts and tutorials for the July holiday, but my daughter gave birth to my newest grandson and I've been helping out around her house and taking care of my two granddaughters; so this is all I've got.
The first is a really simple garland I made using a sheet of scrapbook paper, a 1" circle punch, hot glue and quilters thread (because its heavier than regular thread and I had it on hand.)
First, just start punching out lots of circles.

Photobucket

Then I took my thread and put a circle under it then put a dot of hot glue on it and stuck another circle on top of it.

Photobucket

Photobucket

In hindsight, (and with many burnt fingers) I would use double sided tape instead of hot glue, especially if you are going to have kids helping with the project.

I placed my circle punches about four inches apart, but hey, do what ever looks best to you.

Photobucket

Here it is hanging in my window. Yeah, I know it looks like a bunch of dark dots or kamikaze bees attacking my house. It was bright outside.

Photobucket

The second garland I made using the classic Martha Stewart, tissue paper flower tutorial; except that I reduced the size of the flower to 5 inches so I could wire them to a string.

Photobucket

Photobucket

No, no photo of them hanging as a decoration yet....maybe tomorrow.

Thursday, May 27, 2010

Alarm Clock Turned Picture Frame.

I love clocks. I don't know why, but it seems I can't pass up a vintage clock, working or not, while I'm out at garage sales. I come across broken alarm clocks all the time and I've never paid more than $1 for them, but what do you do with a broken clock?
Turn it into a picture frame.
First you take your alarm clock apart. Unscrew all the screws and remove the insides. This can be a bit like a puzzle, but with a some patience and some tiny screw drivers, you'll end up with a clock that looks like this. (Sorry I don't have any before photos, I often get so excited about a project I forget to take pictures.)

Photobucket

Next , find a photo or picture you like. Take the glass face from the clock and use it as a template to trim your picture.

Photobucket

Photobucket

Make sure the glass is clean, and reassemble your clock, (leaving out the clock mechanism.) You now have a one of a kind picture frame!
Photobucket


*Don't forget to enter my $60 giveaway!*

Sunday, April 25, 2010

I'm a Winner!

No, that's not some self affirmation; I really am a winner!
Look at this gorgeous Bloom Flower Brooch I won over at one of my favorite blogs, Isabella and Max Rooms! If you haven't visited Sella and Dot yet, do so; they have the most beautiful jewelry!

Photobucket

Tuesday, March 23, 2010

Any Reccomendations?

I want to purchase an inkjet printer to expand my crafting horizons. I had one a couple of years ago but it went through ink like a hot knife through butter so I gave it away.
So, can anyone out there steer me to a good printer?

Sunday, March 21, 2010

Favor Boxes

Aren't they sweet? Allison and I spent a couple of hours happily crafting these for Leah's wedding shower. Each one held a Dove chocolate. I had made a few of these for Matthew and Megan when they got married, only I used BIG match boxes and left the matches in; you know, for lighting candles on romantic evenings. I have a couple of the big boxes left and am thinking of decorating and using them to hold Easter treats.


Tuesday, March 09, 2010

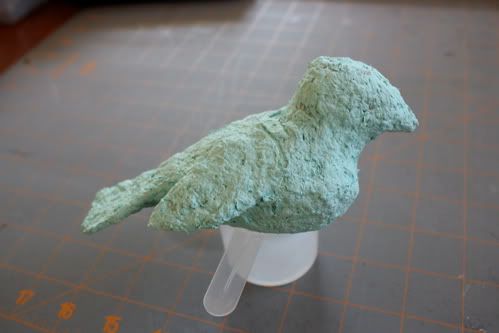
Papier Mache Bird FAIL

I have been avoiding my craft blog because of this unfortunate mess.


Yes, that would be my bird. I knew I should have either sanded it, or put on a final layer of smooth paper strips before painting it, but I got impatient and thought, "How bad can it look." Obviously, pretty bad. So I abandoned my bird for the time being and started a new project.
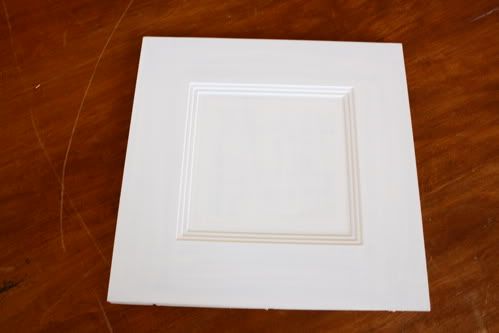
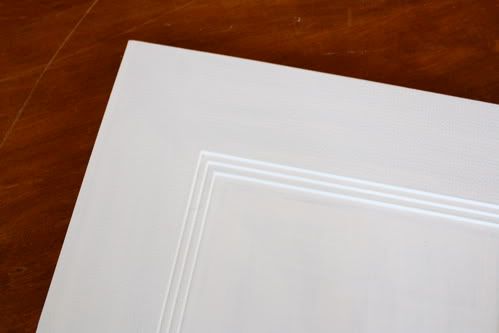
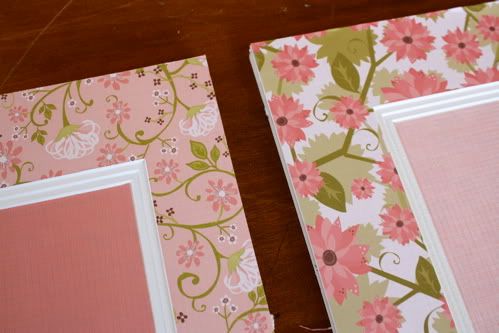
I had bought some unfortunate looking 1980's teddy bear prints at a garage sale a while back because I liked the square frames and triple matting. I painted over the bear print and the blue matting to end up with a totally blank canvass.


I found some pretty scrapbook paper and cut it to fit over the top piece of mat board.


I cut a piece of coordinating solid colored paper to glue over the center of the board, where the teddy bear had been.

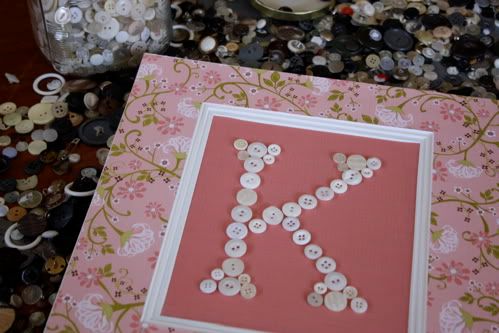
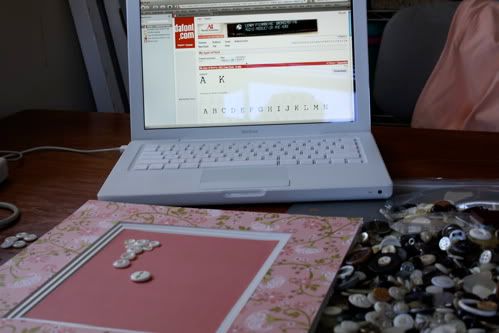
I went online and found a font I liked for the letter, "K."


I then pulled out my massive button collection, and using glue dots to adhere the buttons, I made this for my granddaughter Kate.


Today I may go and try to salvage my bird.