Thursday, February 25, 2010

A FInished Papier Mache BIrd

But....its not mine. Instead of working on my bird this past weekend, my sweetie and I went to the beach. What can I say? Its one of the hazards of living in Florida :)


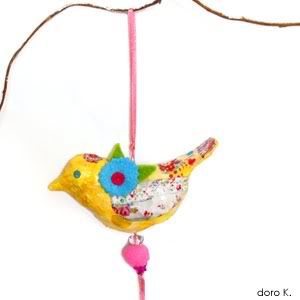
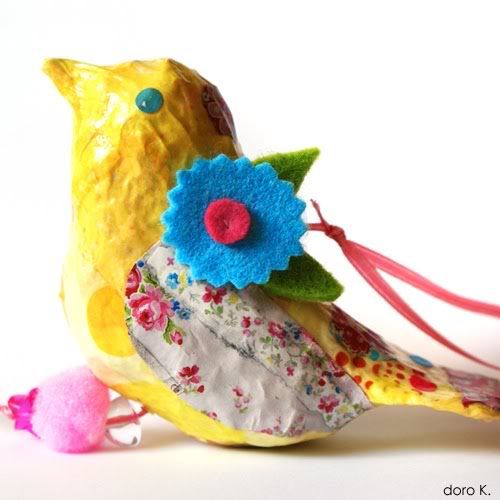
However, while I was off playing, Doro was busy creating her own papier mache bird. Isn't it gorgeous?


I like it even better than the inspiration birds at Anthropologie. Check Doro's blog and her links, she does beautiful illustrations.

Friday, February 19, 2010

WIP Papier Mache Birds

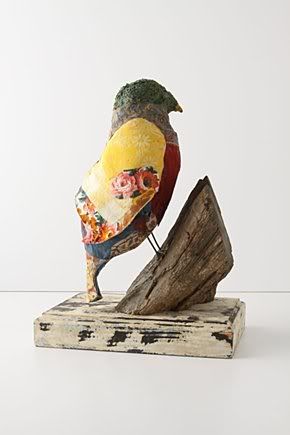
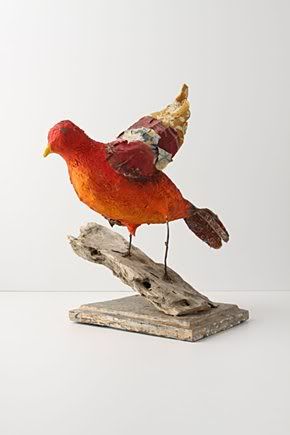
I was inspired to do a little papier mache after seeing these birds at Anthropologie.


Cute, but at $328 each, a bit pricey.
I hadn't done any papier mache projects in about 20 years, but its a simple craft, with the most challenging part being having the patience to let the project dry in between steps. I'm hoping to have the project completed this weekend, but until then, here are the beginning steps.

Supplies:
  • paper bag
  • masking tape
  • newspaper
  • a small piece of wire
  • old cereal or cracker box
  • craft glue
  • blender


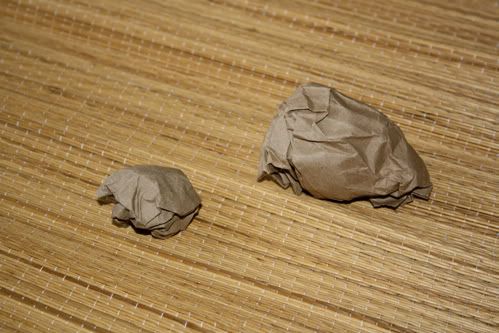
  • The first step is to form the body of the bird. I tore off a piece of paper bag and made an egg shape for the body, then a second smaller egg for the head.


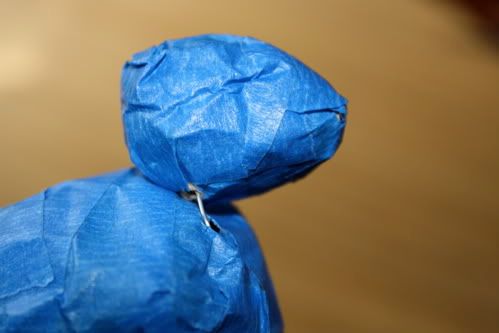
    Next cover both pieces in masking tape. (I've used painters tape so it's easier for you to see the steps.)


    Next, attach the two pieces by sticking a piece of wire into the body and then pushing the head into it. then tape the two pieces together.


    Next I cut a tail out of an old cereal box and taped it on.


    Now, it gets messy.
    Mix equal parts of craft glue and water in a cup. You can adjust the ratio to what seems to work best for you.
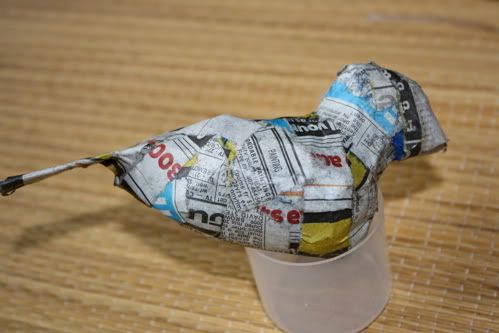
    Tear..do not cut, pieces of newspaper into strips. Dip a strip into the glue mixture, use your fingers to remove excess glue, then wrap the strip around the bird. Continue this until your bird and its tail are covered. Now is the hardest part.
    Wait for it to dry. this could take anywhere from a couple of hours to a couple of days.
    I live in a very humid climate so it takes a long time.


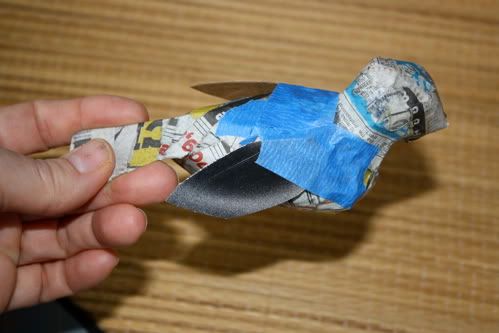
    Once it is dry, cut two wing shapes from your ceral box and tape them on. Then cover the entire bird including tails and wings in your newspaper stips. Once again, let it dry.


    Now we're going to make a batch of moldable papier mache.
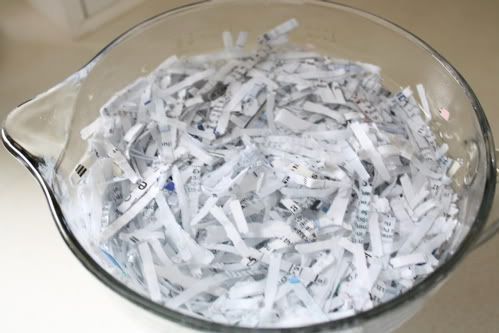
    While your bird dries, take torn newspaper, or in this case, I raided our paper shredder waste basket, and soak a couple of handfuls of paper in water over night.


    The next day pull out your blender, grab a handful of your soggy paper and put it in the blender. Add twice as much water to the blender as paper, and blend on high until you have mush.


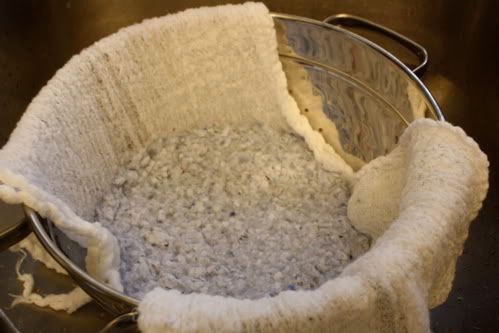
    Line a colander with cheese cloth and pour in your paper pulp. squeeze out the excess water and put the mush in a big bowl.


    Keep processing your soggy paper until you have about 2 cups of pulp in the bowl, then add about a cup of glue to the pulp and using your hands, squeeze the glue and pulp together until well blended. Store the mixture in an air tight container or bag until needed.

    Once your bird has dried, get your pulp, and using it like molding clay, put a layer over your entire bird, squeezing and molding until your bird looks like you want. Then once again, let it dry. My bird has taken 3 days to dry completely! This weekend, I will complete the project.


Monday, February 01, 2010

FREE SHIPPING on the paper heart garland in my Etsy shop!

Tuesday, January 26, 2010

Paper Heart Wreath

I saw this heart wreath on Flower Patch Farm Girl, and thought it was FABULOUS!
Find the directions Here.


photo by Flower Patch Farm Girl

Monday, January 11, 2010

And the winner is....


Kathleen W. Email me your address and I'll put your heart garland in the mail!

Wednesday, January 06, 2010

Valentine Garland

And a give away!
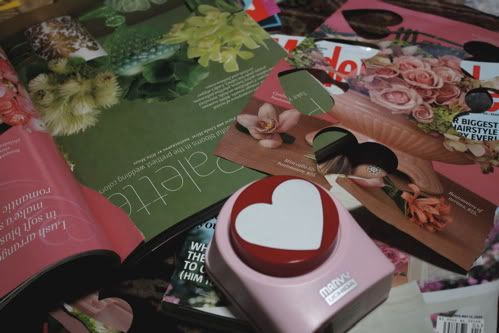
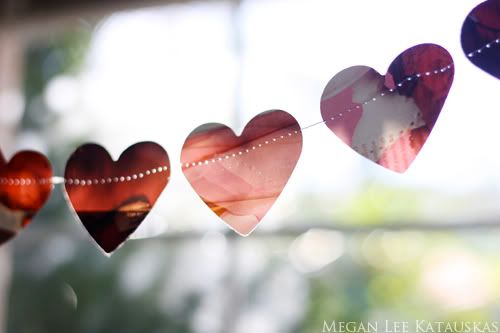
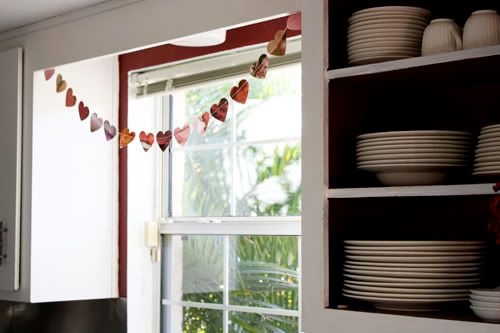
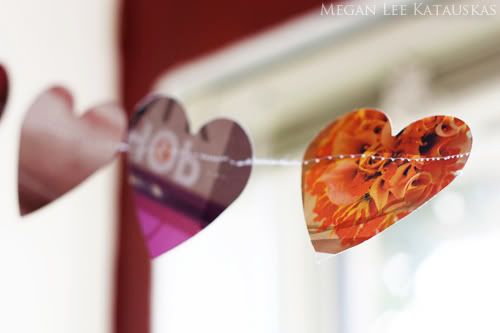
My house looked very barren after taking down my Christmas decorations, so I whipped up this heart garland using a my trusty paper punch and a stack of old magazines.


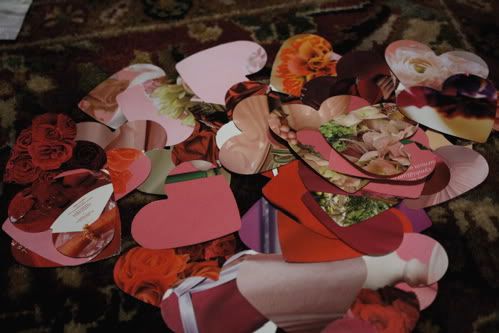
I wanted my hearts to be in shades of red and pink, so I found pages with those colors and in no time I had a pile of paper hearts.


I took the hearts to my sewing machine and just started sewing them together to make my garland.


I had so much fun with this project that I made an extra 12 foot long garland to give to one lucky reader! To enter just comment below and leave your email address so I can contact the winner. You can get a second entry by linking to my blog, and commenting a second time letting me know you did this. I'll pick a winner at noon on Monday, Jan. 11th!

Wednesday, December 16, 2009

A Very Merry Wine Bottle Christmas Tree

This is a guest post with writing and photography by my daughter, Megan, from http://imperrfections.blogspot.com


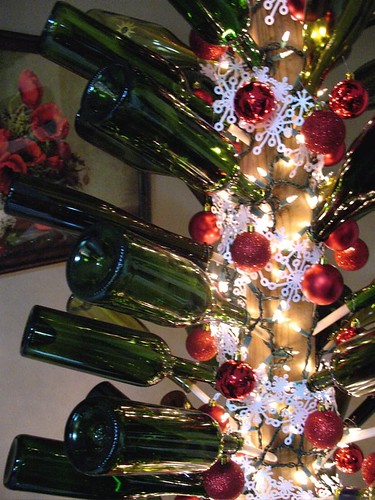
These are photos of the ridiculously awesome Christmas tree my mom built several years ago.

Because she's allergic to pine as well as plastic artificial trees (as a result of her MCS), she wanted to come up with something to replace her traditional tree and so she developed and constructed her very own glass wine bottle tree.

Wine Bottle Christmas Tree


It consists of a 4x4 wooden fence post, wooden dowels, 64 wine bottles (most given to her by a local wine shop), 13 beer bottles, ornaments, paper snowflake garland, Christmas lights, and a vintage lace table cloth for the tree skirt.

It is beyond cool.

week2


Wine Bottle Christmas Tree


Wine Bottle Christmas Tree


Wine Bottle Christmas Tree


Wine Bottle Christmas Tree


Wine Bottle Christmas Tree


Wine Bottle Christmas Tree


Now, I'm not sure if she was the first to invent this, all I know is she had never seen one before and came up with the idea back in 2007. After I blogged a photo of it that year we started seeing other versions pop up online (there is a very beautiful and huge version at Gaylord Texan Resort)

Sunday, December 13, 2009

An Anthropologie Inspired Bracelet.

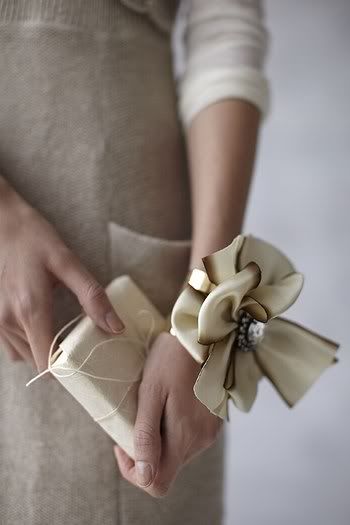
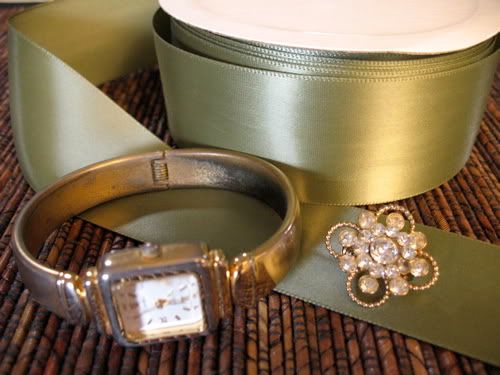
Unlike this beautiful, $198 Anthropologie ribbon bracelet, mine cost $1.25 to make. Granted, I already had all the supplies on hand, but the ribbon was out of Micheal's dollar bin, the vintage pin was .25 at a yard sale and the old broken watch was in my bin of jewelery bits.


My supplies:


The bracelet is basically a layered bow. If you've never made bows before, Save-on-crafts has great instructions.
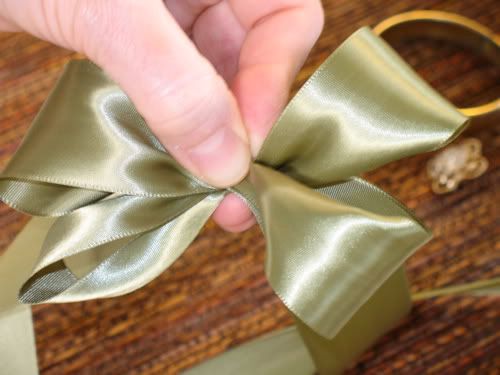
I wanted a 2 inch loop, so I measured out 6 inches of ribbon, and leaving 2 inches for the tail, I folded the ribbon in half and pinched it.
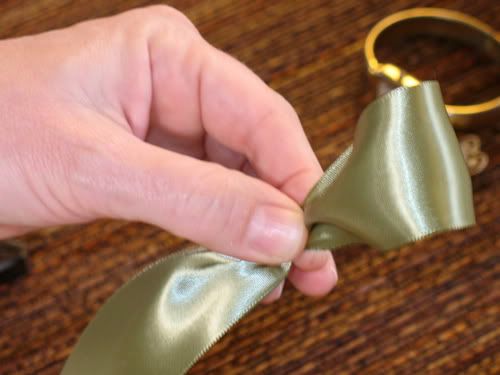


I held my bow tight and twisted the ribbon so that the shiny side was facing out.
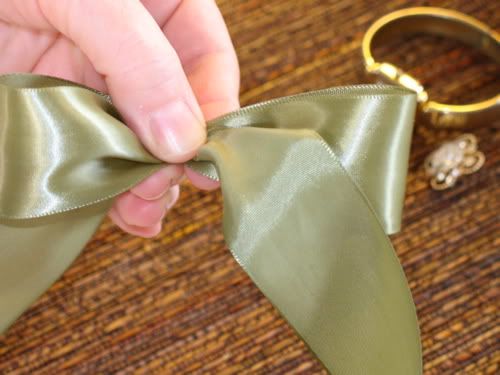


Then you repeat the process, make a loop, pinch and twist, until you've made four loops.
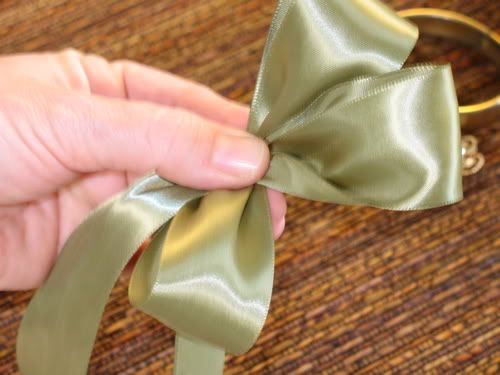


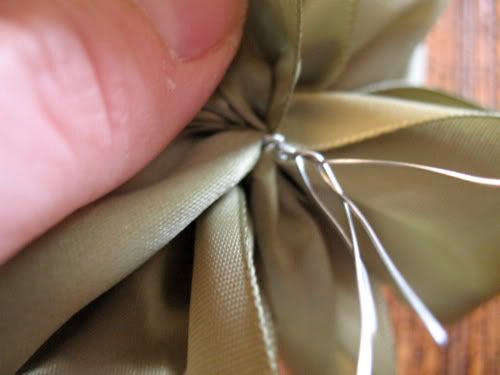
Then take a piece of floral wire and secure the bow in the middle.
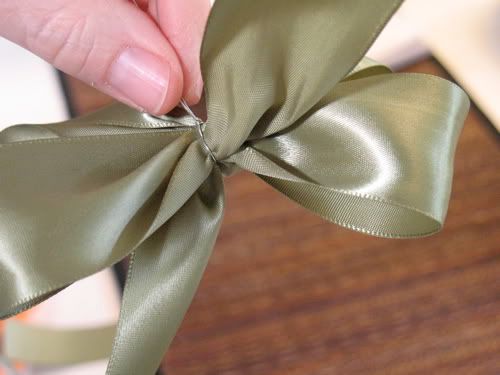


I then made another four loop bow, slightly smaller thatn the first.
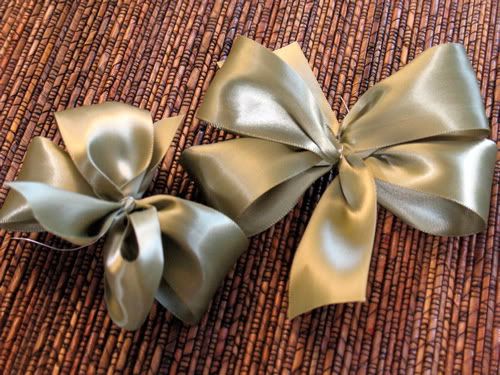


Stack the smaller bow on top of the larger and twist all the wires together under the large bow.


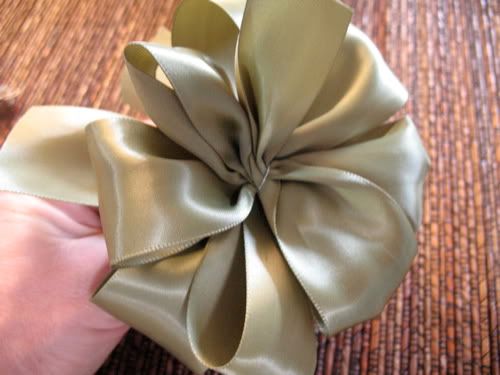
You now have something that looks like this. Fluff and play with the loops until you're happy with how they look.


Pin or hot glue your rhinestone jewelry in the center of the bow, then hot glue it on to your cuff bracelet or in my case, an old cuff watch. If you don't have either of those, you can use an extra piece of ribbon as your bracelet and glue the bow to that and simply tie it on your wrist.
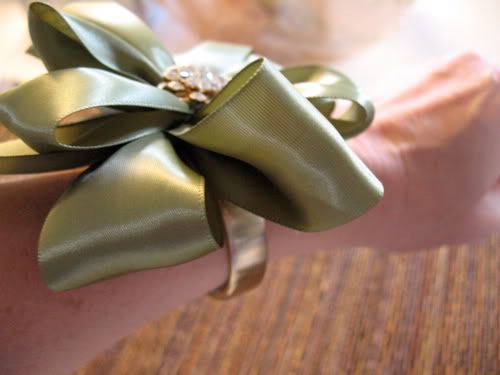
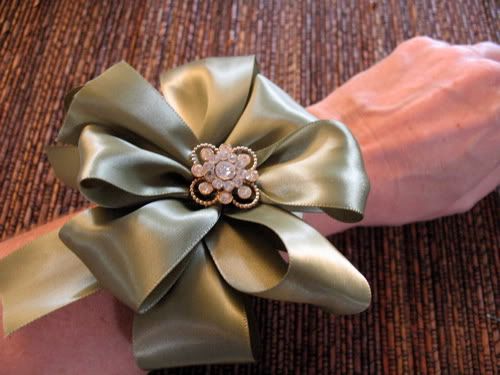


If I make more of these, I will definitly try to find a pale ribbon with a dark edge. While I like the green, it doesn't have the definition I want and the green seems to become just a big blur of color.

Sunday, November 22, 2009

Cashmere Wrap

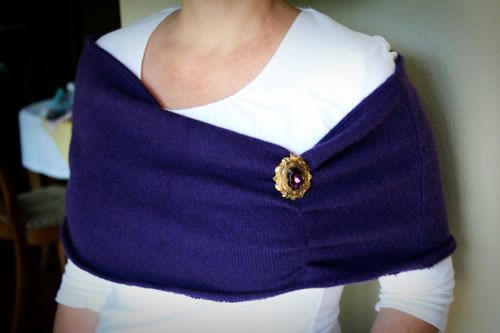
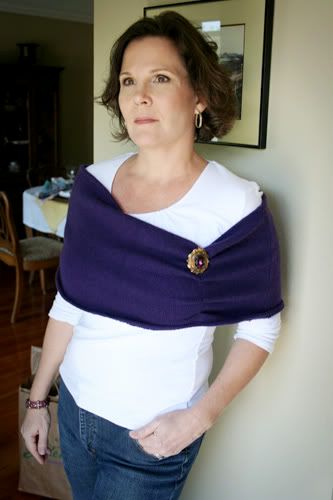
A couple of months ago I bought a large, purple, cashmere, turtleneck sweater at a garage sale for $1. Living in Florida, I knew I'd never wear the sweater even if it did fit, but it was only $1 and I knew I'd eventually find a use for it.
Last week while reading through other craft blogs, I came across this awesome project, turn a sweater into a fashionable wrap!
I followed the tutorial, and am thrilled with the results!


To make your own wrap, go over to My Mama Made It for easy to follow, step by step directions.

Tuesday, November 17, 2009

Crafty Cakestand

This is so easy and inexpensive to create, and makes a great Christmas present.

Take an old tarnished candlestick, (these are easy to find in thrift stores as nobody likes to polish silver or brass,) and spray paint it.

Photobucket

Find a pretty plate, also easy to find while thrifting, and get some silicone glue, or e6000 glue. DO NOT use hot glue, it won't hold.
Put a ring of glue around the top of the candlestick then center it on the face down plate. Let it dry 24 hours before moving.

Voila! A pretty cake stand to hold all manner of treats!
Photobucket