I was inspired to do a little papier mache after seeing these birds at
Anthropologie.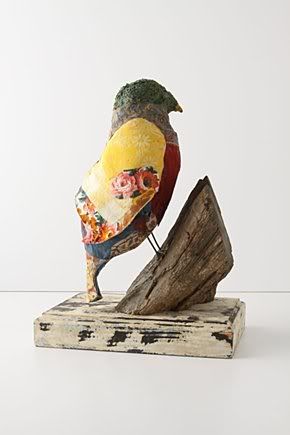
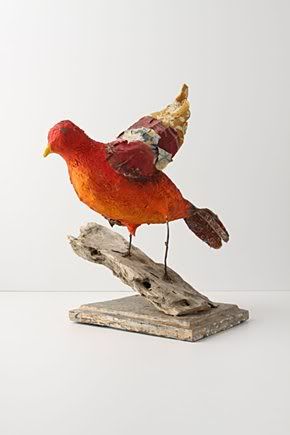
Cute, but at $328 each, a bit pricey.
I hadn't done any papier mache projects in about 20 years, but its a simple craft, with the most challenging part being having the patience to let the project dry in between steps. I'm hoping to have the project completed this weekend, but until then, here are the beginning steps.
Supplies:
- paper bag
- masking tape
- newspaper
- a small piece of wire
- old cereal or cracker box
- craft glue
- blender
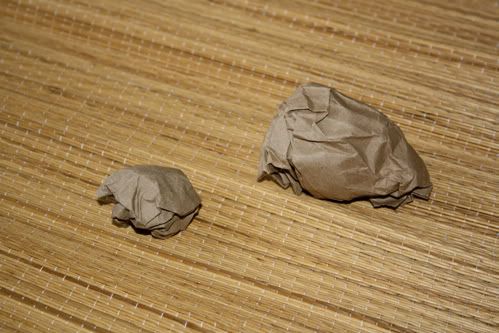
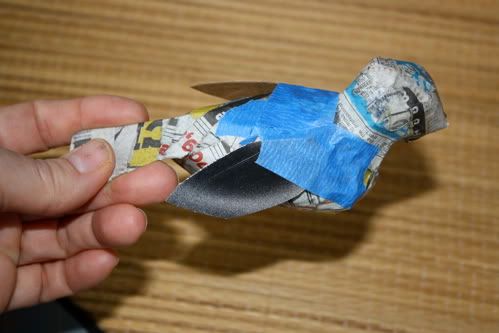
The first step is to form the body of the bird. I tore off a piece of paper bag and made an egg shape for the body, then a second smaller egg for the head.
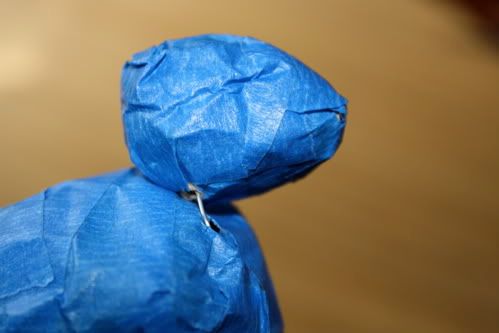
Next cover both pieces in masking tape. (I've used painters tape so it's easier for you to see the steps.)

Next, attach the two pieces by sticking a piece of wire into the body and then pushing the head into it. then tape the two pieces together.
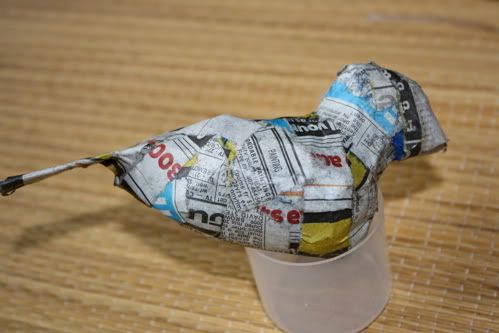
Next I cut a tail out of an old cereal box and taped it on.

Now, it gets messy.
Mix equal parts of craft glue and water in a cup. You can adjust the ratio to what seems to work best for you.
Tear..do not cut, pieces of newspaper into strips. Dip a strip into the glue mixture, use your fingers to remove excess glue, then wrap the strip around the bird. Continue this until your bird and its tail are covered. Now is the hardest part.
Wait for it to dry. this could take anywhere from a couple of hours to a couple of days.
I live in a very humid climate so it takes a long time.
Once it is dry, cut two wing shapes from your ceral box and tape them on. Then cover the entire bird including tails and wings in your newspaper stips. Once again, let it dry.
Now we're going to make a batch of moldable papier mache.
While your bird dries, take torn newspaper, or in this case, I raided our paper shredder waste basket, and soak a couple of handfuls of paper in water over night.
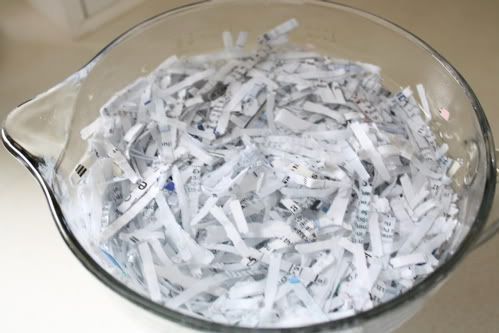
The next day pull out your blender, grab a handful of your soggy paper and put it in the blender. Add twice as much water to the blender as paper, and blend on high until you have mush.

Line a colander with cheese cloth and pour in your paper pulp. squeeze out the excess water and put the mush in a big bowl.

Keep processing your soggy paper until you have about 2 cups of pulp in the bowl, then add about a cup of glue to the pulp and using your hands, squeeze the glue and pulp together until well blended. Store the mixture in an air tight container or bag until needed.
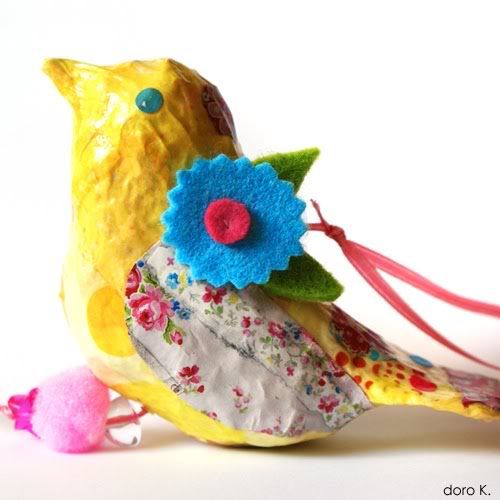
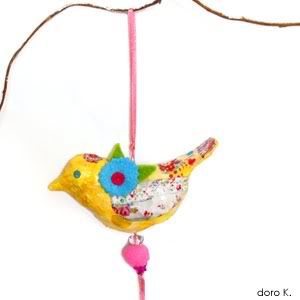
Once your bird has dried, get your pulp, and using it like molding clay, put a layer over your entire bird, squeezing and molding until your bird looks like you want. Then once again, let it dry. My bird has taken 3 days to dry completely! This weekend, I will complete the project.